
Un-modulated 24 LED Phototherapy Light Wand
Assembly Instructions
1. Cut the PVC pipe in two using a hacksaw. A miter box helps to make a good clean squared cut.2. Drill a 7/16-inch hole in the center of the end cap.
3. Cut the PCB with a hacksaw to provide 3 rows of holes (see Photo).
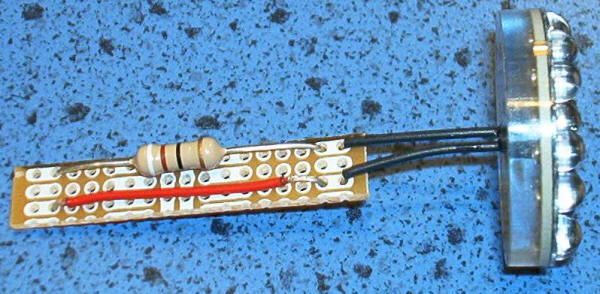
4. Solder the resistor and a jumper wire to the PCB.
5. Identify the positive lead of the LED. Look at the back of the LED where the leads come out. You will see some gold traces near one of the leads and a “1” symbol also. This is the positive lead and must connect to the resistor.
6. With the LED leads pointing toward you and the positive lead on your left, bend the bare portion of the leads down 90 degrees using pliers. Solder the LED to the PCB.
7. Cut two pieces of wire 4 inches long. Use different colors or mark the positive wire. Solder the wires to the connector, the positive wire to the center conductor of the connector.
8. Insert the connector and wires into the PVC end cap and put on the locking nut. Screw the cap onto the PVC pipe. Solder the wires to the PCB board with the positive wire going to the resistor.
9. Now is a good time to check operation before closing. Plug in the power supply and the unit should light up.
10. Feed the wires and PCB into the pipe until the LED sits on the pipe end.
11. Check operation again then use 5-minute epoxy to glue down the LED to the pipe end.
12. Clean off the glue spills with a file or sand paper and the unit is ready for use.
Completed Sub Assembly
These devices were designed for research purposes only. Walter makes no claims as to its efficacy and no recommendations regarding its use.